A drain inspection camera is a specialized tool designed to visually inspect the inside of pipes and drains without the need for invasive digging or dismantling. It allows professionals and homeowners to accurately identify blockages, damaged pipes, or buildup that could be causing drainage issues. This technology provides a clear, real-time view inside the plumbing system, making diagnosis faster and more precise.
Using a drain camera reduces guesswork and helps pinpoint exact problem areas like cracks, tree root intrusion, or corrosion. It is especially useful for both routine maintenance and emergency troubleshooting, saving time and minimizing repair costs. The cameras often come with features such as LED lighting, recording capabilities, and locators to track the exact location of issues underground.
Whether managing a residential plumbing system or inspecting commercial pipes, drain inspection cameras offer a practical, efficient way to understand what lies beyond the visible plumbing fixtures. This tool is essential for anyone aiming to maintain or repair drains with confidence and accuracy.
Understanding Drain Inspection Cameras
Drain inspection cameras provide a clear view inside pipes without excavation. They use flexible cables, specialized lenses, and lighting to navigate and reveal blockages, damage, or corrosion. These tools vary in design and capabilities depending on the inspection requirements.
What Is a Drain Inspection Camera?
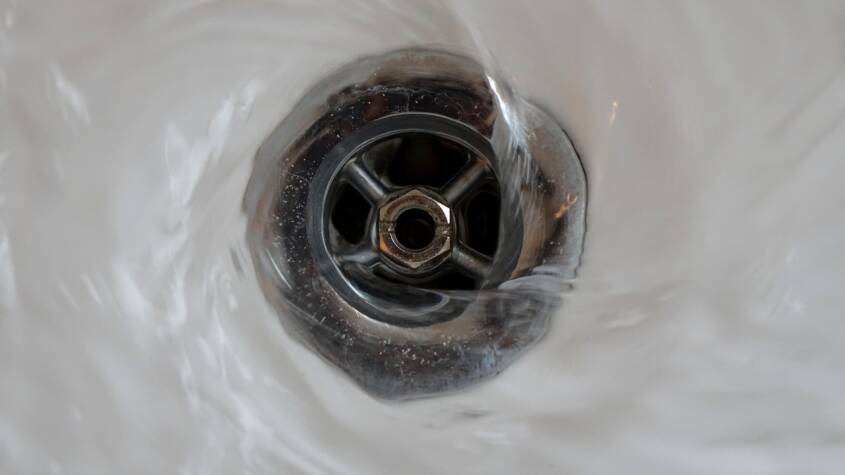
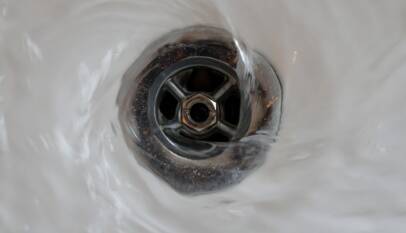
A drain inspection camera is a device designed to enter plumbing or drainage pipes to visually inspect their condition. It consists of a small camera attached to a flexible cable, allowing it to move through bends and tight spaces inside drains.
The camera transmits real-time video to a monitor, letting users see inside pipes to identify problems such as clogs, cracks, or corrosion. This reduces the need for guesswork or destructive digging when diagnosing plumbing issues.
Key Features and Components
Key components include the camera head, flexible cable, lighting system, and the control unit. The camera head is waterproof and often equipped with LED lights to illuminate dark pipe interiors.
The cable must be long and flexible enough to navigate extensive pipe networks. The control unit displays the video feed and may offer recording or measurement tools, such as distance counters.
Durability and image quality are critical. Higher-end models provide high-definition video, adjustable lighting, and enhanced maneuverability for precise diagnostics.
Types of Drain Inspection Cameras
There are three primary types: push cameras, crawler cameras, and robotic cameras. Push cameras are handheld and manually fed into pipes, suitable for smaller, straightforward inspections.
Crawler cameras have motorized wheels enabling self-propulsion through larger pipes, useful in complex or long pipelines. Robotic cameras, controlled remotely, can navigate difficult pipe systems and provide advanced imaging capabilities.
Each type addresses different pipe sizes and inspection depths, allowing users to choose the best fit for their specific drain inspection needs.
Selecting and Using a Drain Inspection Camera
Selecting the appropriate drain inspection camera and using it correctly can prevent costly plumbing issues. Proper operation depends on understanding the device’s features, handling techniques, and typical scenarios where the camera is most effective. Routine maintenance also ensures reliable performance and longevity.
Choosing the Right Model
Selecting a drain inspection camera requires considering pipe diameter, camera size, cable length, and image quality. Cameras with flexible, waterproof cables between 50 and 100 feet suit most residential applications. A small camera head diameter (around 1 inch) is essential to navigate narrow pipes and tight bends.
Resolution and lighting are critical. Models equipped with LED lights provide clearer images in dark pipes. Higher-definition cameras help identify cracks, blockages, or corrosion more precisely. Some units offer recording and playback features, which are helpful for documentation or sharing with professionals.
Battery life should cover the duration of typical inspections, usually 2–4 hours. Portability and ease of use also matter, especially for frequent inspections or for users without technical backgrounds.
How to Operate Effectively
Effective operation starts by carefully inserting the camera cable into a clean-out or floor drain. Moving the camera slowly allows clear video feed capture to identify blockages or damage. Operators should use the monitor to track progress and avoid forcing the camera into sharp bends.
Adjusting the camera’s LED lighting based on pipe condition reduces glare and improves visibility. Recording video or still images aids later analysis. It is important to keep cable tension low to prevent damage.
Understanding pipe layout before inspection helps navigate efficiently. When the camera encounters obstructions, gently retracting and repositioning may be necessary. Operators should maintain steady hand control to prevent cable tangling and ensure continuous footage.
Common Applications and Use Cases
Drain inspection cameras are widely used to diagnose blockages, leaks, and pipe corrosion without excavation. They help locate tree root invasions, pipe breaks, and buildup of grease or debris. Homeowners utilize them for routine maintenance to prevent backups or flooding.
Professional plumbers use these cameras for warranties and insurance claims by providing visual evidence of pipe conditions. They are valuable in new installations to verify pipe placement and connections. Cameras also assist in pinpointing exact spots for repair, reducing repair scope and cost.
In commercial settings, drain cameras inspect large sewer lines where manual inspection isn’t feasible. They improve workflow by providing immediate assessment, eliminating guesswork in troubleshooting.
Maintenance and Troubleshooting
Routine maintenance ensures the camera operates reliably over time. After each use, the cable and camera head should be wiped clean and inspected for damage. Waterproof seals must be checked to prevent water ingress, which can impair electronics.
Cables require gentle coiling to avoid kinks or breaks. Battery packs should be charged according to manufacturer guidelines to extend lifespan. Firmware or software updates may be necessary for models with digital interfaces.
Common troubleshooting issues include intermittent video feed or a dim display. These often stem from loose connections or low battery power. Recalibrating or resetting the system can fix software glitches. Avoid pulling the cable forcefully to prevent internal wire damage.
Proper storage in protective cases prevents physical damage when cameras are not in use.
British Virgin Islands Company Registration Guide for 2025 Compliance and Benefits
The British Virgin Islands Company Registration process is straightforward, efficient, and…


Digital Marketing Companies in Toronto: Driving Success in a Competitive Landscape
Toronto is home to a vibrant community of digital marketing companies, each offering a …


